Why Set Up Hydro Cooling At All
If you've already decided liquid cooling is right for your setup (see our hydro vs air comparison if you haven't), this guide walks through what actually goes into running one — whether you buy a factory hydro unit or plan a DIY loop.
The short version: hydro cooling drops noise from 70-80 dB to 30-40 dB, improves efficiency by 10-20% versus an equivalent air-cooled unit, and extends hardware life by keeping chip temperatures lower and more stable. The tradeoff is real plumbing infrastructure that has to be installed correctly.
Buy Factory Hydro vs. DIY Conversion
There are two paths:
This guide covers the components and process either way applies to.
The Hydro Loop: What's In It
| Component | Function |
|---|---|
| Cold plates | Replace air heatsinks, mount directly to hashboards |
| Radiator | Dissipates heat from the coolant to ambient air |
| Pump | Circulates coolant through the loop |
| Reservoir | Holds coolant, allows for thermal expansion |
| Coolant | Distilled water or a specialized non-conductive fluid |
| Radiator fans | Quiet, low-RPM — much quieter than stock miner fans |
Installation, Step by Step
Step 1: Prepare the Miner (DIY conversions only)
Disassemble the unit, remove stock fans and heatsinks, and clean the hashboards thoroughly before touching thermal interfaces.
Step 2: Mount the Cold Plates
Apply thermal paste evenly and attach cold plates to each hashboard with consistent, even pressure — uneven contact is the single most common cause of thermal throttling in DIY hydro setups.
Step 3: Connect the Plumbing
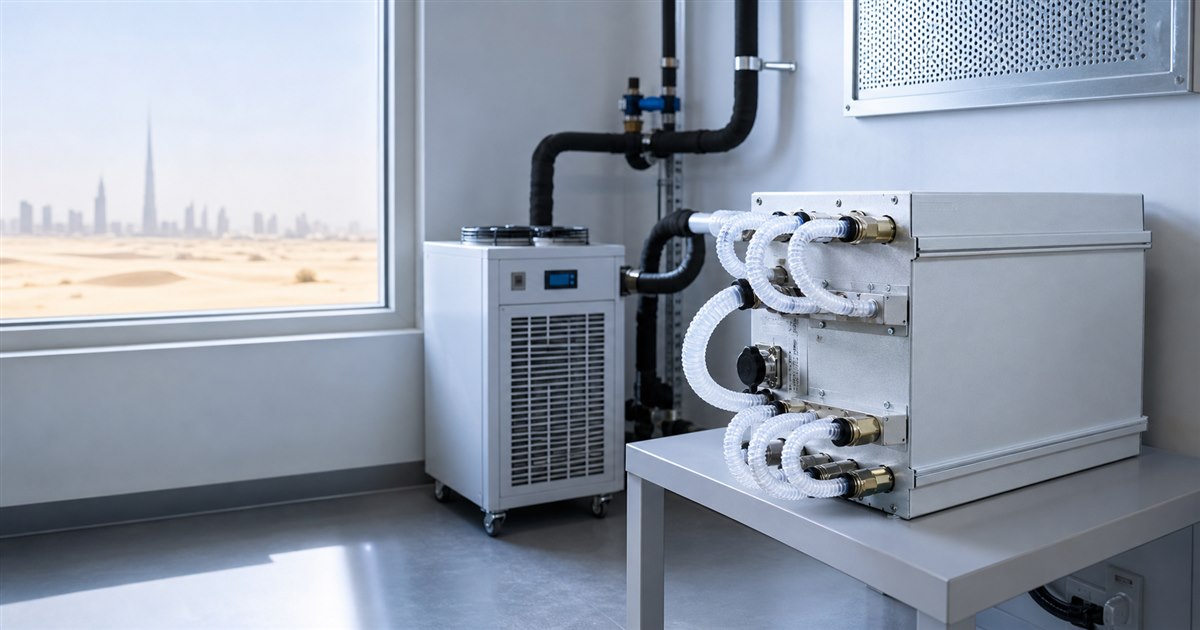
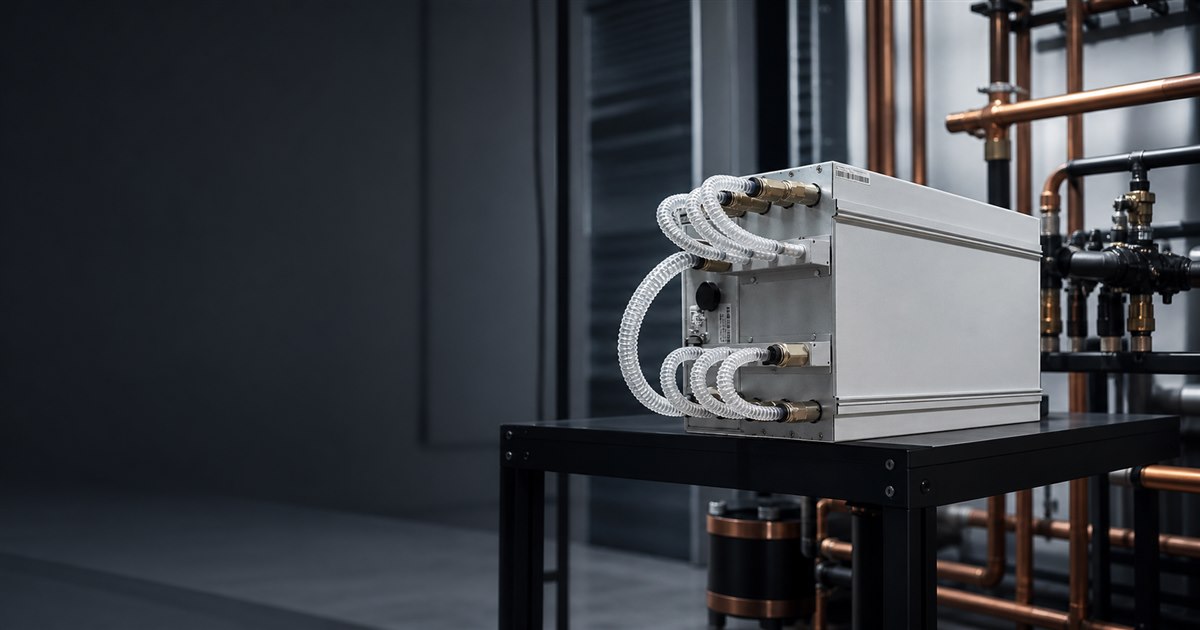
Route cold plates in series or parallel depending on your kit's design. Use quality push-fit or barbed fittings rated for continuous duty — a loop that runs 24/7 for years needs better fittings than a gaming PC loop that gets opened regularly.
Step 4: Install the Radiator and Pump
Mount the radiator somewhere with real airflow — outdoors, a vented shed, or ducted to an exterior wall works best. Install the pump and reservoir at a height that keeps the pump primed.
Step 5: Fill, Bleed, and Test
Fill the loop, run the pump to bleed out air bubbles (trapped air is the #2 cause of hydro cooling failures after bad plate contact), and check every fitting for leaks before powering on the miner.
Maintenance Schedule
What It Actually Costs
DIY hydro conversion runs $300-800 per miner depending on components and whether you're building a shared loop for multiple units or one loop per miner. Factory hydro units fold this cost into the purchase price — which is part of why they typically run 30-50% above an equivalent air-cooled model.
The return comes from three places: noise reduction that lets you run the miner somewhere air-cooled units can't go, efficiency gains that lower your electricity cost per terahash, and extended hardware life from lower, more stable operating temperatures.
Frequently Asked Questions
Is DIY hydro conversion worth the risk of voiding warranty?
For most buyers, no — a factory hydro unit like the Whatsminer M56S Hydro costs more upfront but comes engineered and warrantied for that exact hashboard, which is worth more than the DIY savings for anyone not already experienced with loop-building.
How often do hydro loops actually leak?
Rare with quality fittings installed correctly, but non-zero — this is why the bleed-and-leak-test step before first power-on matters, and why routing the loop away from anything that can't get wet is worth the extra planning.
Can I run multiple miners on one hydro loop?
Yes, this is common in small farms — cold plates run in parallel off a shared radiator and pump, which is more capital-efficient than one loop per miner, but a leak or pump failure then takes down more hardware at once.
Does hydro cooling reduce hashrate?
No — if anything, hydro-cooled miners typically run closer to their rated hashrate under sustained load than air-cooled units, since they're less likely to thermal-throttle during hot ambient conditions.